| |
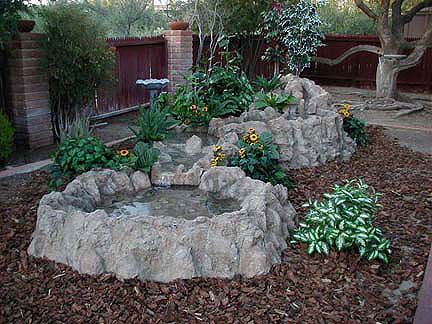
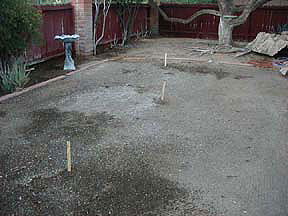
Beginning with level ground and a few stakes to determine
placement, you'll be enjoying your new stream in no time! |
|
| |
| |
 |
|
| |
| |
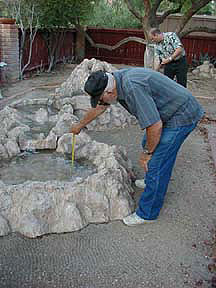
After locating the first stream section onto the pond make a small
groove in the dirt to allow the water hose to pass through easily
without pinching. |
|
| |
| |
 |
|
| |
| |
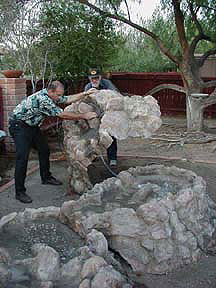
As you locate the last section have your helper attach the hose to
the fitting on the underside of the fiberglass rock. Make sure
that the hose is attached well. |
| |
| |
 |
|
| |
| |
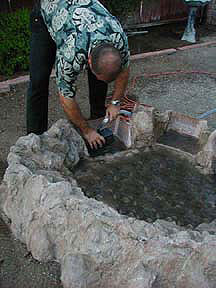
Locate the pump in the pump housing and attach the hose. Prepare
for running the stream by locating electricity near the pump. |
|
| |
| |
 |
|
| |
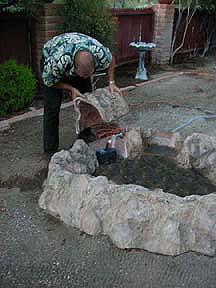
One person can begin adding the water... |
|
| |
| |
 |
|
| |
| |
Once the water level reaches 6-7 inches, it's full! |
|
| |
| |
 |
|
|
| |
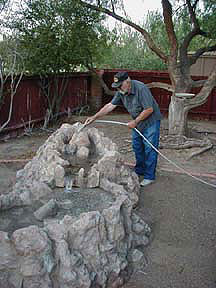
Place the pool where you've decided to have the stream end. Laying
the hose in its approximate location makes the whole job easy. |
|
|
| |
 |
|
| |
| |
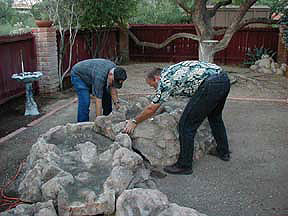
Place the next section and align the hose just like you did with
the first stream section. You can connect sections in a straight
line or at angles. It's completely your choice. You can change the
layout of the stream at any time, simply by repositioning the
stream sections! |
|
| |
| |
 |
|
| |
| |
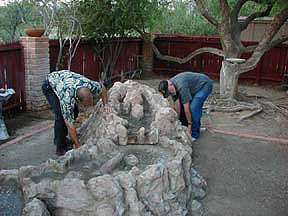
Lower the last section into place. |
|
| |
| |
 |
| |
| |
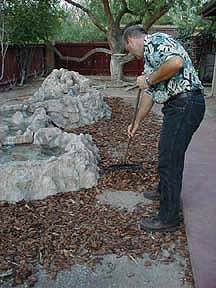
Place the pump cover over the pump and hose to hide the system. |
|
| |
| |
 |
|
| |
while the other does groundwork! |
|
| |
 |
|
|
| |
| |
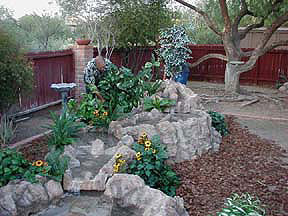
Locate your favorite plants, then plug in the pump... you're done! |
|
| |
| |
 |
|